Export invoice line items with Datamolino
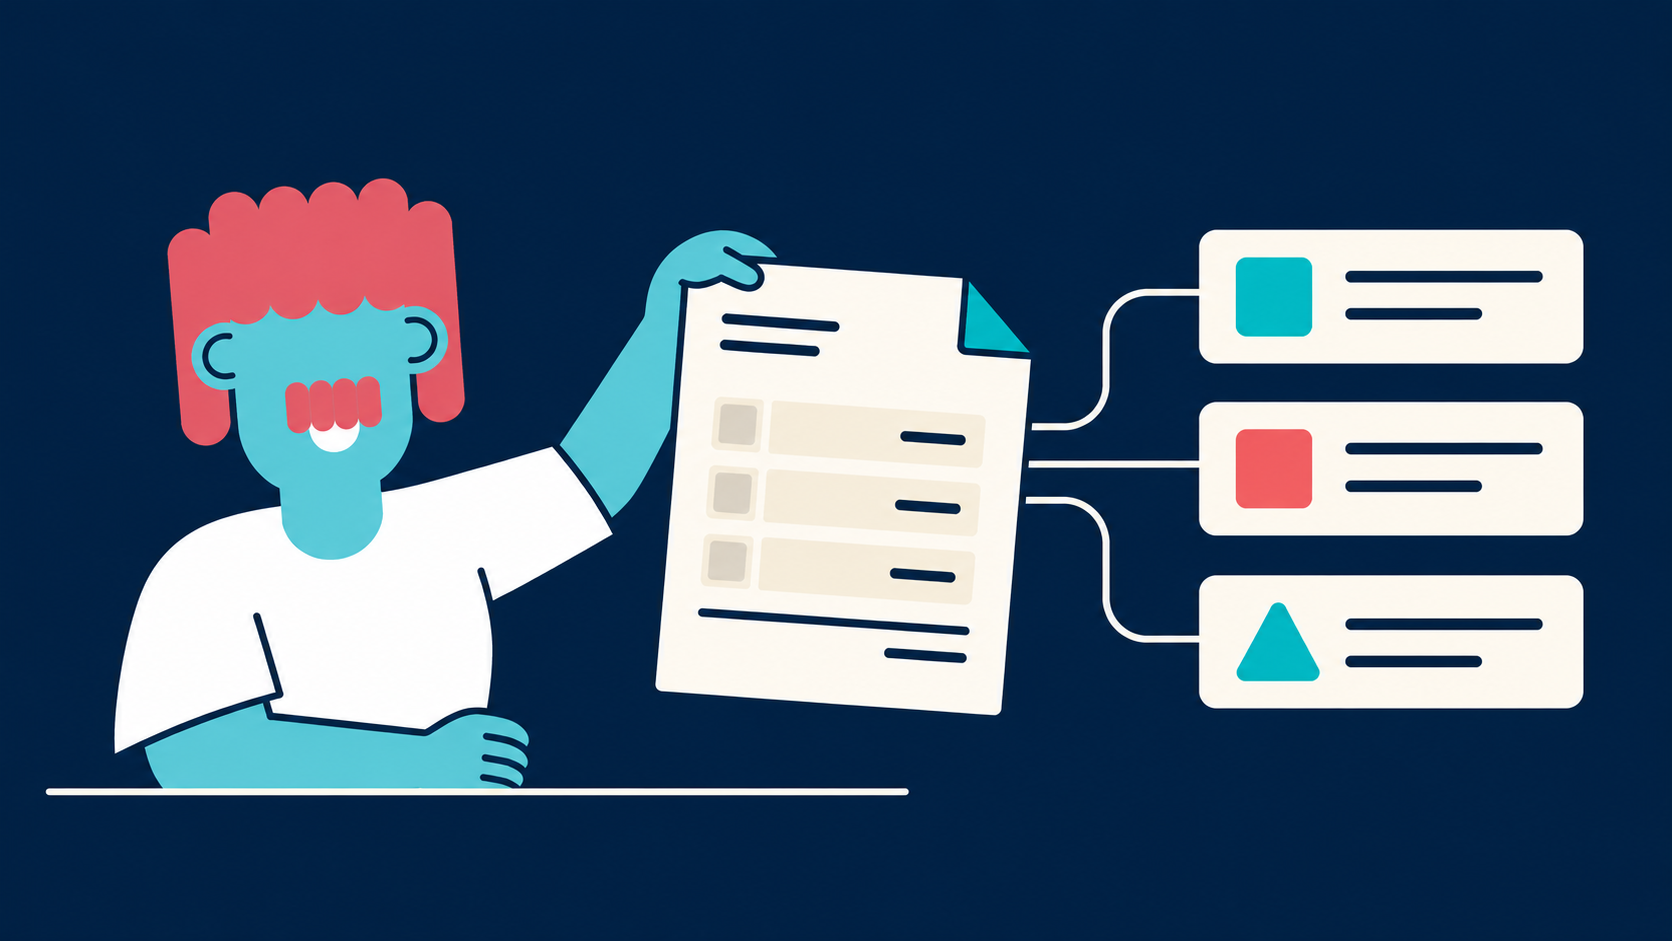
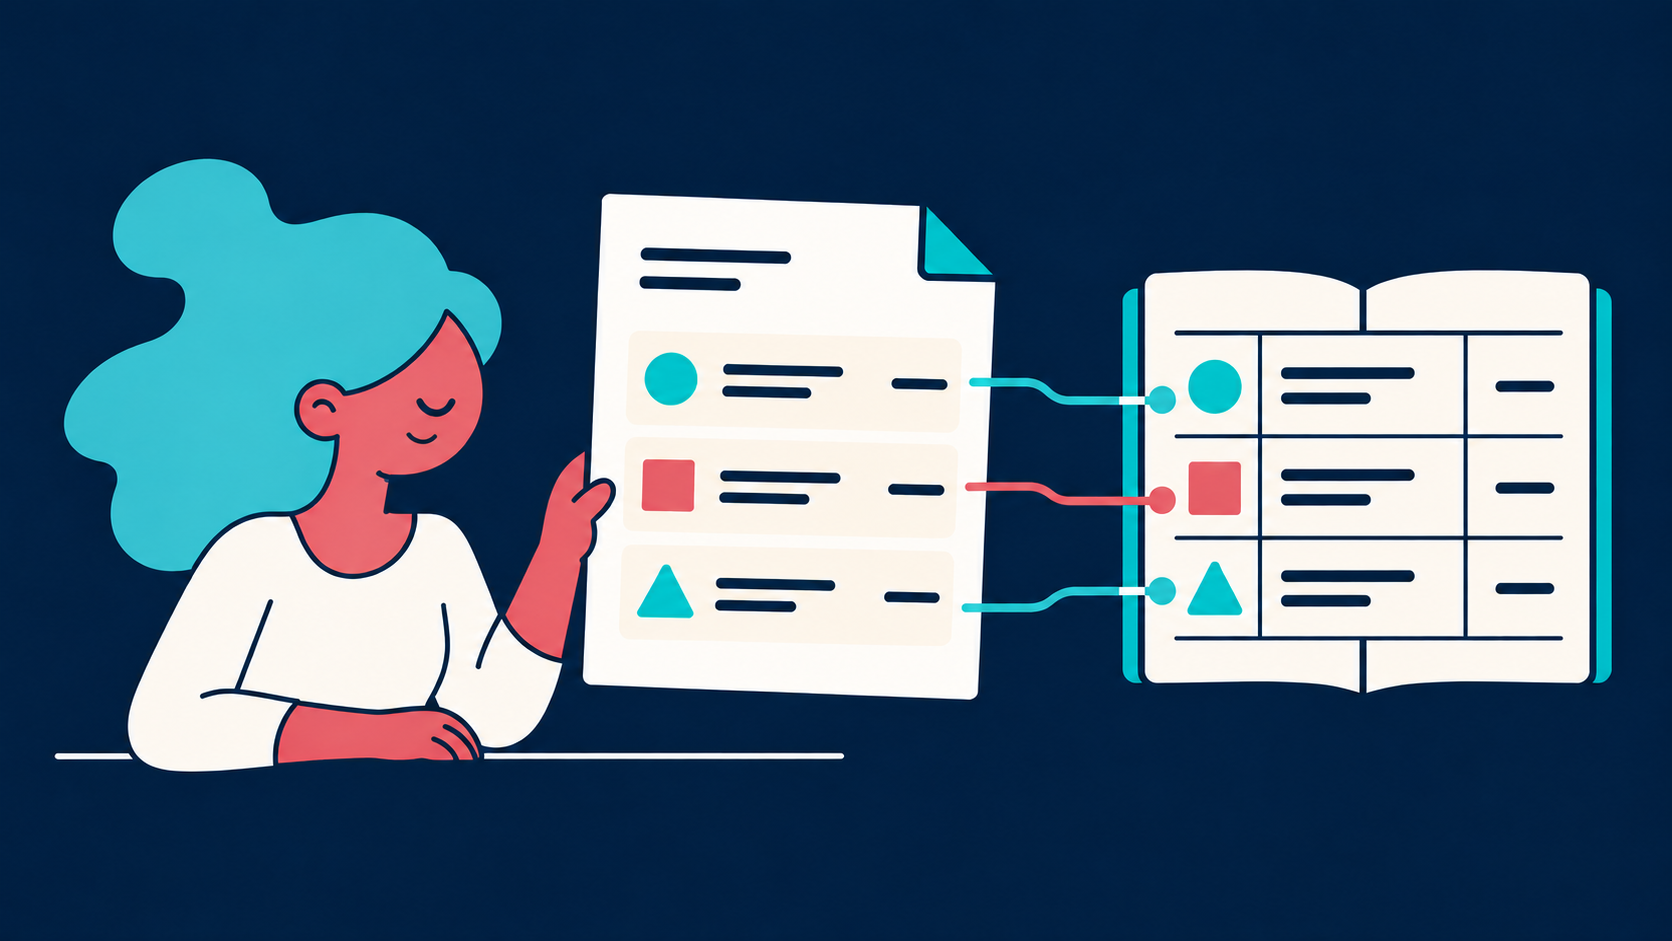
Review individual invoice lines, give each one its account and tax code, and export the full detail to your accounting software.
Watch tutorialFind the folder settings that save time on every document: coding defaults, workflow preferences, email import and who works in the folder.
Open the folder and click Folder Menu. Choose Preferences for basic folder settings, or Accounting & Automation for coding and workflow settings.
In Accounting & Automation, set the defaults for new suppliers and documents, including the default view.
Set the workflow preferences and check the saved supplier and customer settings, then save.
In Preferences, check the folder details, who may send documents by email and the users who work in the folder.
Cut manual steps by setting up your folder to match your documents, suppliers and team. Inside a folder, click the folder menu and choose Preferences or Accounting & Automation.
Accounting & Automation is where you set default coding for suppliers and customers; workflow preferences such as document splitting, duplicate detection, approvals and export; each supplier’s and customer’s automation settings; and line item rules.
Preferences holds the basic folder details, such as name, client ID and currency; email import, where you choose the addresses or whole domains allowed to send documents; the folder’s users; tags for the Files area; and the extracted contacts, with their details.
In short, the folder menu is where you speed up coding, automate your workflow and keep the folder organised.
You’ll find a step-by-step guide in the Datamolino Help Centre.
Review individual invoice lines, give each one its account and tax code, and export the full detail to your accounting software.
Watch tutorialSet up a keyword rule for recurring words in line descriptions, test it, and let it code matching lines automatically.
Watch tutorialSee how fixed amounts and percentages split one bill into coded lines, preview the result and save the split for every new bill from the supplier.
Watch tutorial